> For the complete documentation index, see [llms.txt](https://docs.currents.dev/llms.txt). Markdown versions of documentation pages are available by appending `.md` to page URLs; this page is available as [Markdown](https://docs.currents.dev/getting-started/your-first-playwright-run.md).
# Quick Start
Running Playwright tests with Currents Dashboard
Connect Playwright to Currents in a few minutes and start seeing runs, screenshots, videos, and traces in one place. This guide keeps the setup minimal so you can go from "tests run locally" to "results show up in Currents" without extra ceremony.
## Prerequisites
* An account - [sign up](https://app.currents.dev/signup) for a free trial.
* NodeJS v18.17.0+
* Playwright v1.40.1+ works well.
* If you're using Playwright v1.60.0+ you'll require `@currents/playwright` 2.0.0+, see [Compatibility Guide](/resources/reporters/currents-playwright/compatibility.md).
{% hint style="info" %}
To have a coding agent do the setup, see [Set Up with an AI Agent](/getting-started/setup-with-an-agent.md).
{% endhint %}
## Setup Currents
{% stepper %}
{% step %}
#### Create a Project
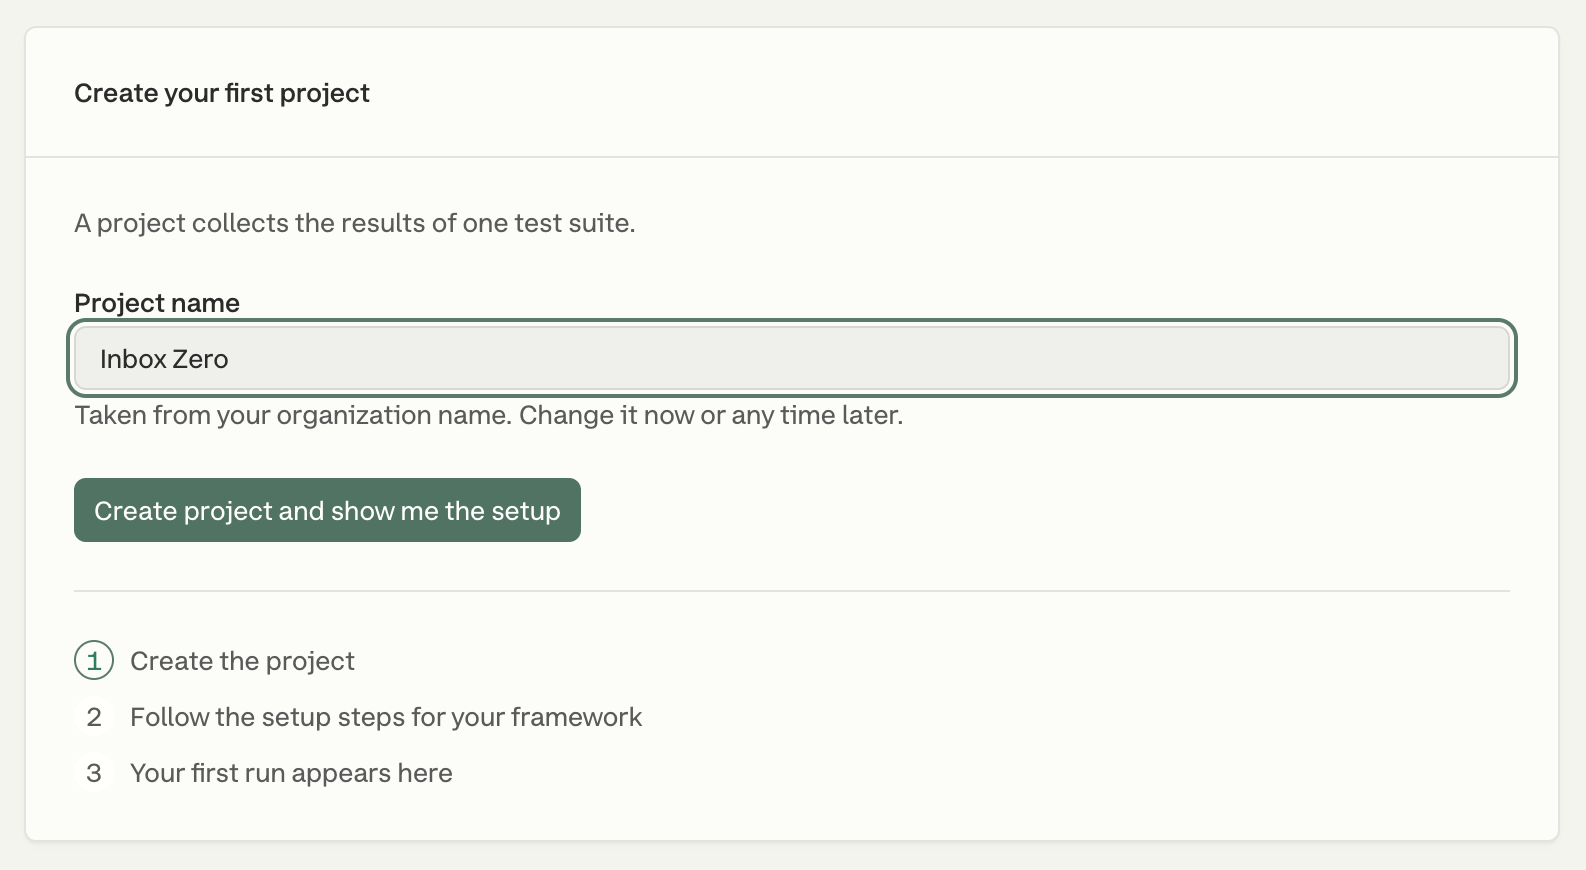
After you sign up, Currents asks you to name your organization and answer a few questions about your team. Then create your first project: the name is taken from your organization name, and you can change both later. Click **Create project and show me the setup**.
The setup page opens on **Local Setup**. Select Playwright as the testing framework. **Project Credentials** shows your `Project ID` and `Record Key`. Keep that page open for the next steps.
{% endstep %}
{% step %}
#### Install @currents/playwright
Install the native Playwright reporter with your project's package manager.
```bash
npm i -D @currents/playwright
```
If you use `pnpm`, `yarn`, or `bun`, run the equivalent dev dependency install command instead.
{% endstep %}
{% step %}
#### Create currents.config.ts
Create `currents.config.ts` next to `playwright.config.ts`, usually in the project root. If your Playwright config uses `.js` or `.mjs`, use that same extension for `currents.config`, and remove the type import and the `!`.
{% code title="currents.config.ts" %}
```typescript
import { CurrentsConfig } from "@currents/playwright";
const config: CurrentsConfig = {
recordKey: process.env.CURRENTS_RECORD_KEY!,
projectId: process.env.CURRENTS_PROJECT_ID!,
};
export default config;
```
{% endcode %}
{% hint style="warning" %}
Set `CURRENTS_PROJECT_ID` and `CURRENTS_RECORD_KEY` to the values from Currents. Keep the Record Key out of files you commit.
{% endhint %}
{% endstep %}
{% step %}
#### Enable artifacts
Update `playwright.config.ts` so every recorded run includes traces, videos, and screenshots.
```typescript
use: {
// ...
trace: "retain-on-failure-and-retries",
video: "retain-on-failure",
screenshot: "on",
}
```
These artifacts are what make the dashboard useful from the first run, so it is worth enabling all three up front.
{% endstep %}
{% step %}
#### Setup Currents Reporter
You have two ways to finish the integration:
{% hint style="info" %}
Most teams should start with the **Currents Reporter** because it keeps the existing Playwright command unchanged.
{% endhint %}
Option 1: Add Currents Reporter (recommended)
Add the Currents reporter to `playwright.config.ts` and keep using `playwright test`.
```typescript
// playwright.config.ts
import { defineConfig, devices, PlaywrightTestConfig } from "@playwright/test";
import { currentsReporter } from "@currents/playwright";
export default defineConfig({
// ...
reporter: [currentsReporter()], // 👈🏻 add Currents reporter
})
```
If you already have reporters configured, keep them and append `currentsReporter()` to the list.
* Run `npx playwright test` or your usual test command to start sending results to Currents.
* The reporter reads settings from `currents.config.ts`. See [@currents/playwright](/resources/reporters/currents-playwright.md) for more configuration options.
Option 2: Run tests with the pwc command
`pwc` is a lightweight command-line executable included in `@currents/playwright`. It runs Playwright with Currents wired in for you.
Setup
* Run `npx pwc`.
* Or update `package.json` to execute `pwc` instead of `playwright test`.
```json
"scripts": {
...
"test": "npx pwc",
},
```
How it works
* `pwc` reads the configuration from `currents.config.ts` file. See additional configuration options [Configuration](/resources/reporters/currents-playwright/configuration.md).
* `pwc` injects Currents reporter into Playwright configuration.
* You can also provide CLI configuration parameters, e.g. `npx pwc --key RECORD_KEY --project-id PROJECT_ID`
{% endstep %}
{% endstepper %}
## Create your first run
After setup, run Playwright and watch results get [streamed in real-time](/guides/parallelization-guide/step-level-reporting.md) to Currents. Here's the command for the same:
```bash
CURRENTS_PROJECT_ID= CURRENTS_RECORD_KEY= npx playwright test
```
{% hint style="info" %}
You can find both the `CURRENTS_PROJECT_ID` as well as the `CURRENTS_RECORD_KEY` in the Currents dashboard.
{% endhint %}
A link to the recorded run will be available at the start of the execution:
```
📦 Currents reporter: 2.5.1 recording to project WlKqJ0
🎭 Playwright: 1.63.0 5 tests in 1 project [chromium]
🌐 Run URL: https://app.currents.dev/run/cfc7ab8fcaaz10157
```
Open the link to see the run in the dashboard.
{% embed url="" %}
{% hint style="warning" %}
No run link, or the run doesn't show up? See [Missing Runs](/guides/missing-runs.md).
{% endhint %}
## Next Step
Once your Playwright project is set up and reporting locally, configure your CI pipeline.
Running tests in CI is where you get consistent, repeatable feedback on every pull request and deployment, not just on your local machine.
{% content-ref url="/pages/xHzwM6ZSoRz2XHnYqgTt" %}
[CI Setup](/getting-started/ci-setup.md)
{% endcontent-ref %}
---
# Agent Instructions
This documentation is published with GitBook. GitBook is the documentation platform designed so that both humans and AI agents can read, navigate, and reason over technical content effectively. Learn more at gitbook.com.
## Querying This Documentation
If you need additional information that is not directly available in this page, you can query the documentation by asking a question.
Perform an HTTP GET request on the following URL with the `ask` and `goal` query parameters:
```
GET https://docs.currents.dev/getting-started/your-first-playwright-run.md?ask=&goal=
```
`ask` is the immediate question: it should be specific, self-contained, and written in natural language.
`goal` is what the user is ultimately trying to achieve, the reason they need the answer. Sharing it helps GitBook give you a better, more relevant answer. A goal is most helpful when it describes the outcome the user wants rather than restating the question. For example, with `ask=how do I create an API token`, a goal like `automate deployments from our CI pipeline` lets GitBook tailor the answer to that use case.
The response will contain a direct answer to the question and relevant excerpts and sources from the documentation.
Use this mechanism when the answer is not explicitly present in the current page, you need clarification or additional context, or you want to retrieve related documentation sections.